Light. Speed. ✨: Astro - Development Workflow

Welcome to the fourth installment of my Light. Speed. Series! In the previous article, we explored Astro, a framework designed for simplicity, performance, and flexibility. Today, we’ll focus on Astro’s development workflow, from setting up your first project to deploying and managing changes with ease.
Setting up Astro Locally
Setting up Astro is incredibly straightforward. With its intuitive structure and built-in features, you can go from zero to a working site in minutes. Here’s how:
Install Astro
Run this command in your terminal to initialize a new Astro project:
npm create astro@latest
Choose a template that fits your needs, such as a blog or portfolio, and navigate to your project folder:
cd your-project-name
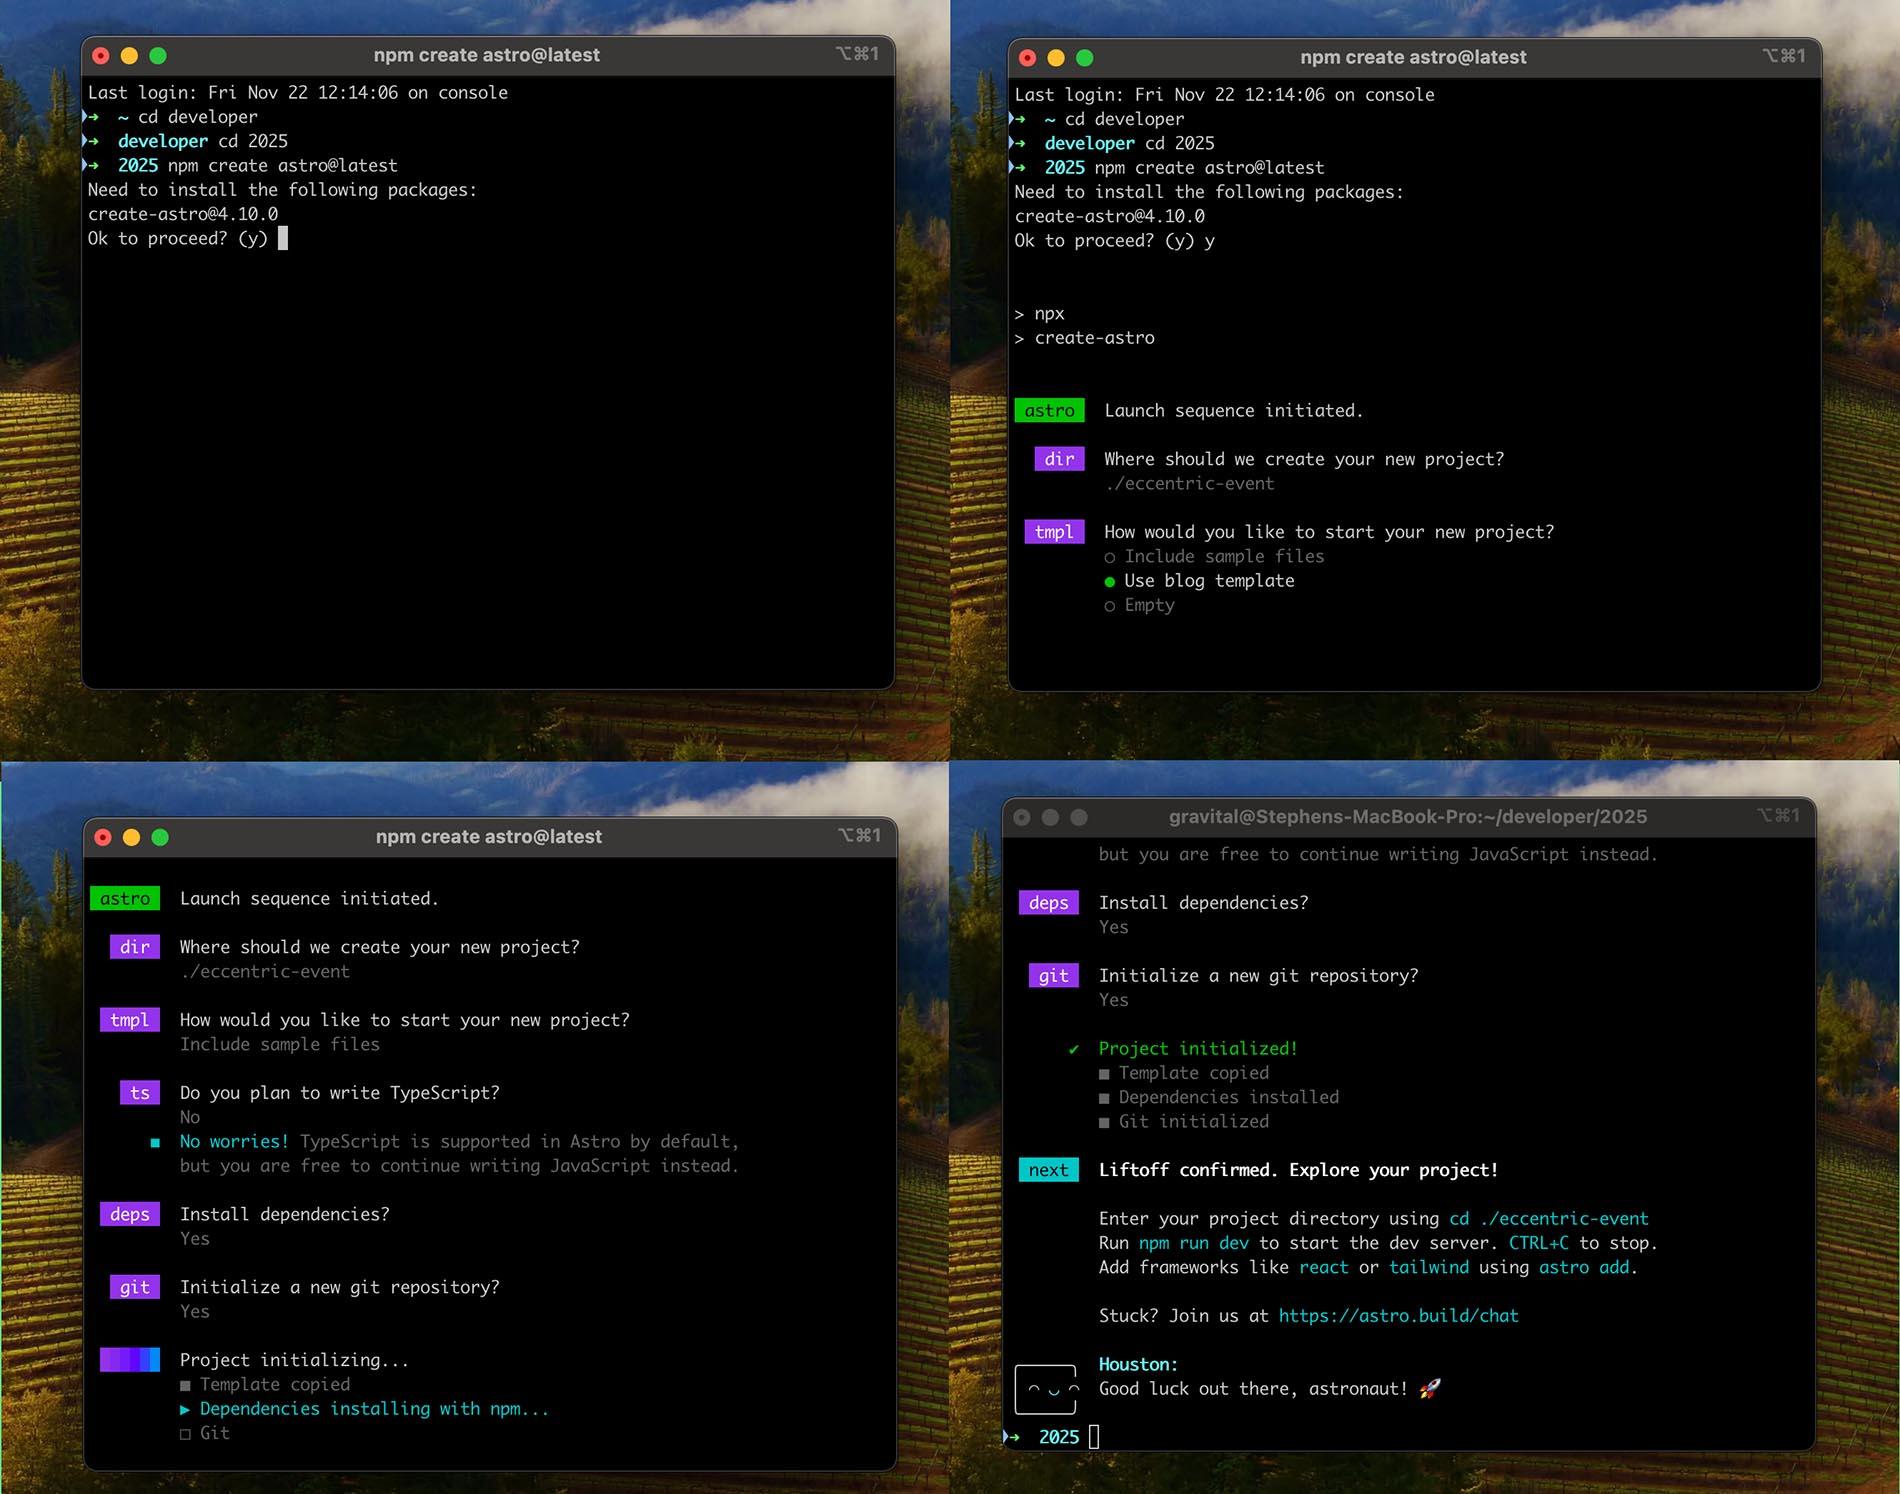
Then install the dependencies:
npm install
Start the Development Server
To preview your project locally, run:
npm run dev
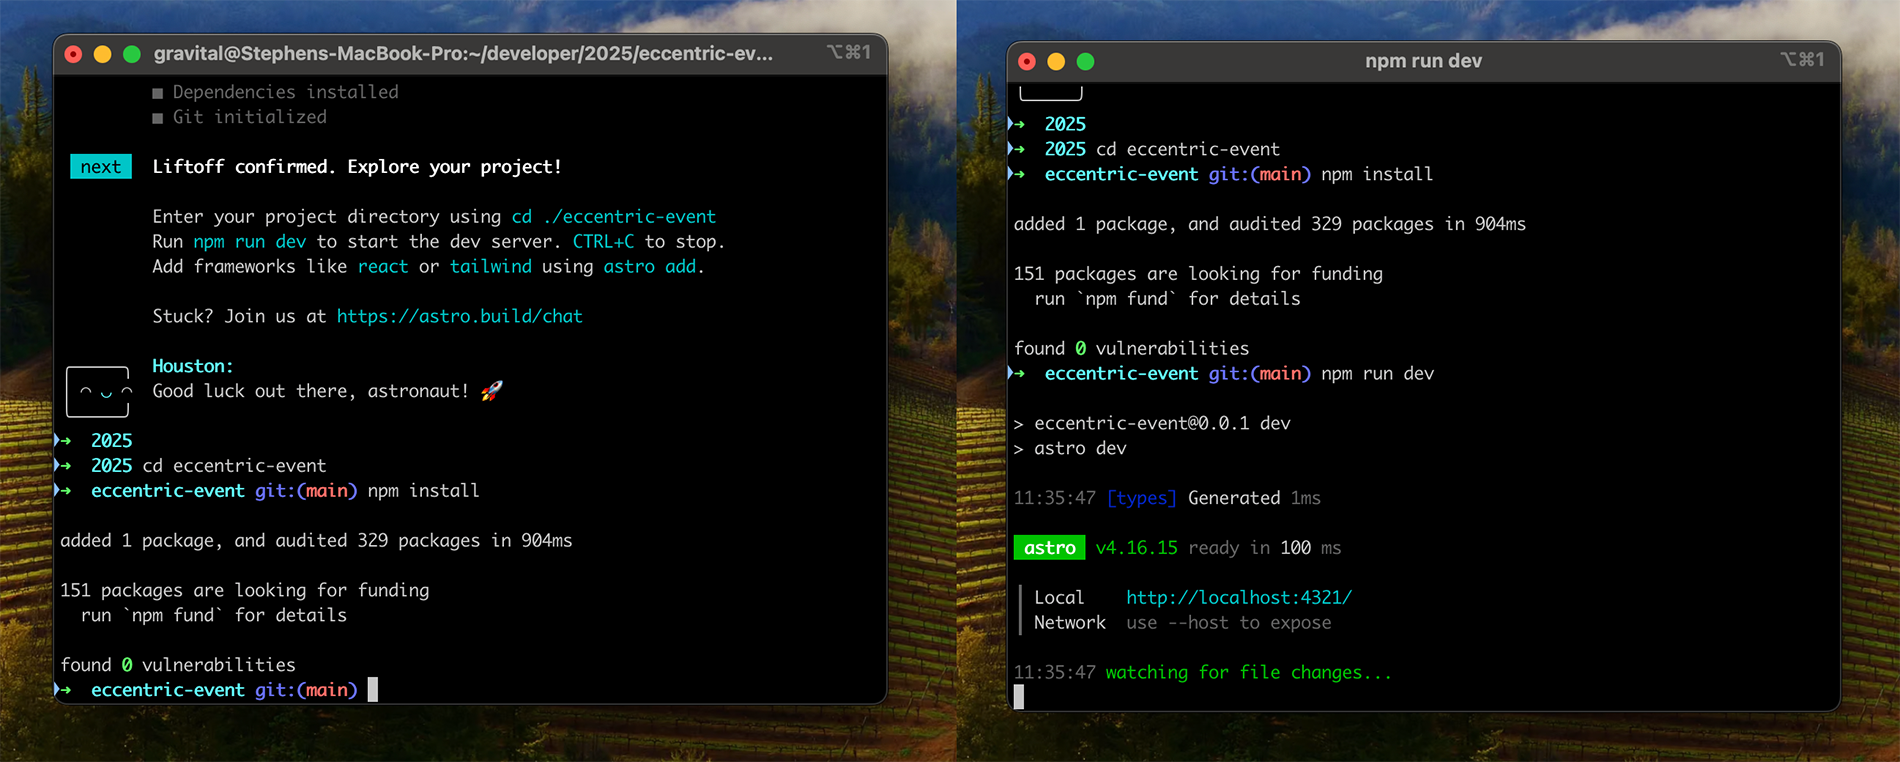
Visit http://localhost:4321 in your browser, and you’ll see your new Astro site live and ready for customization.
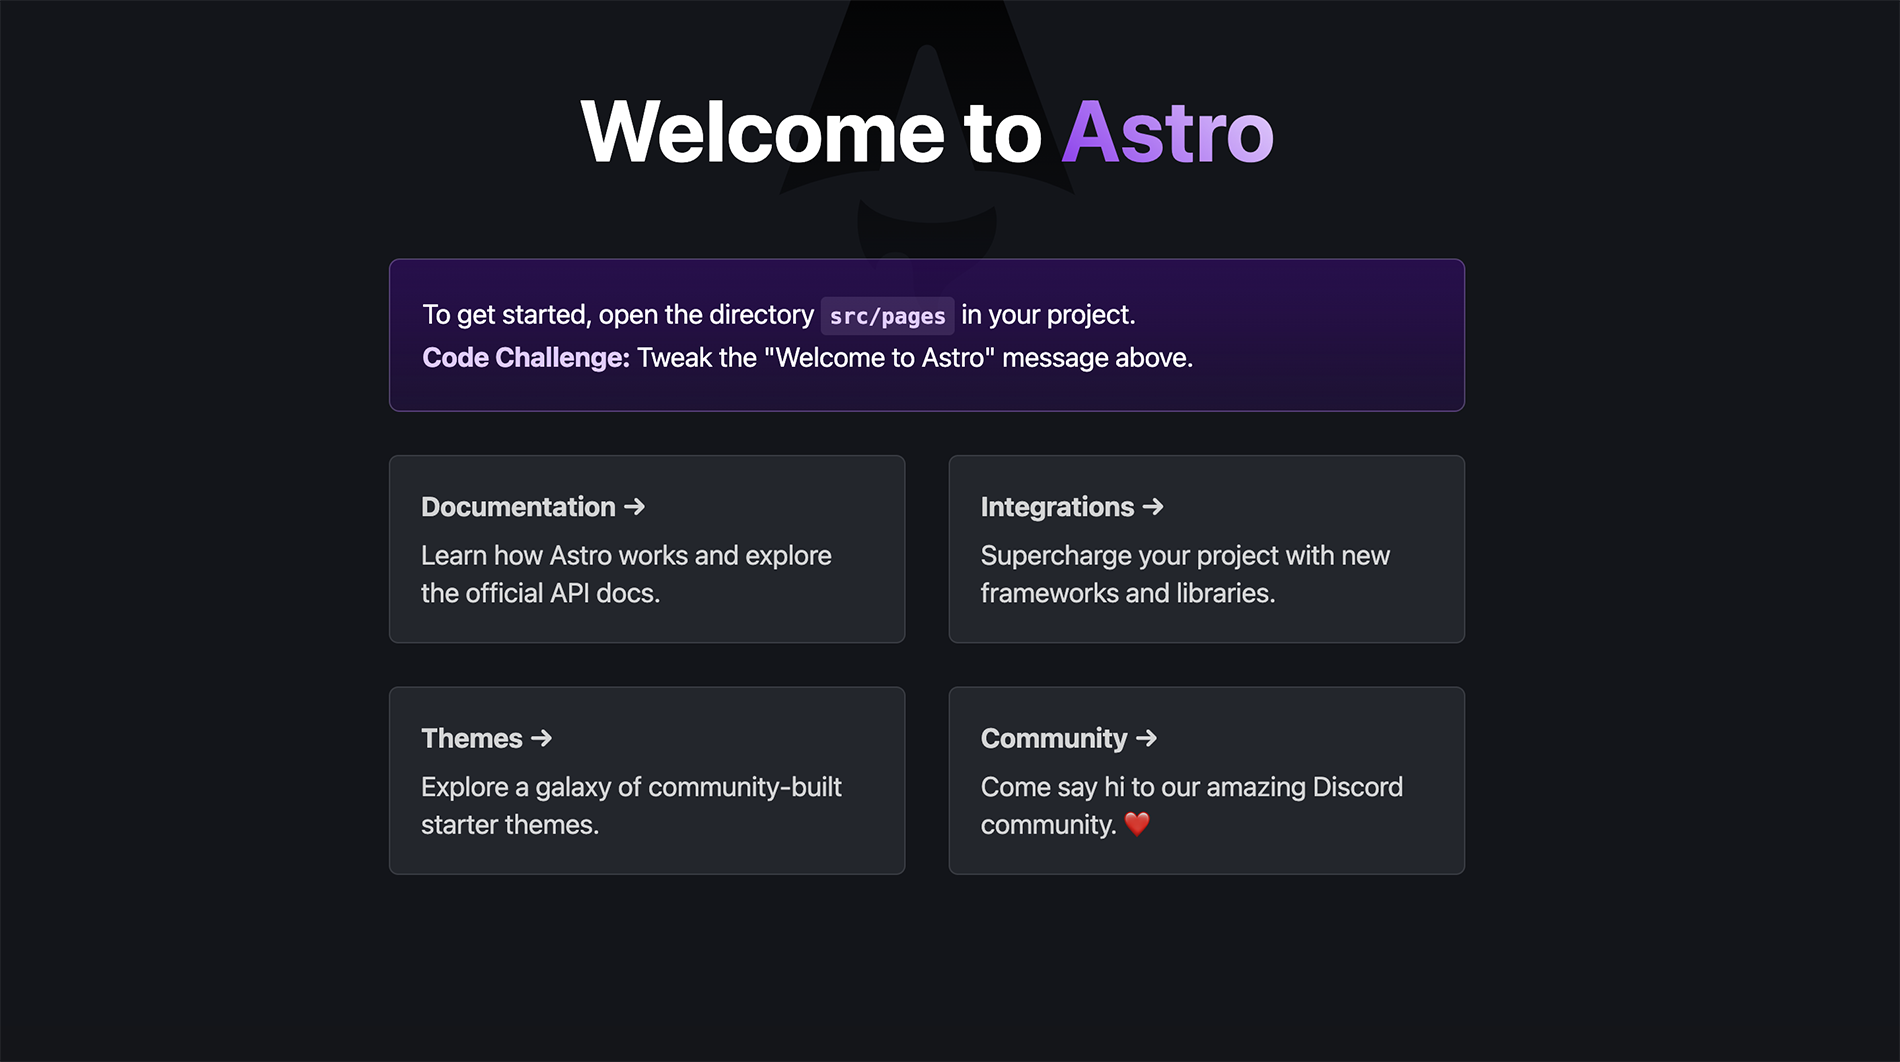
Understanding Astro’s File Structure
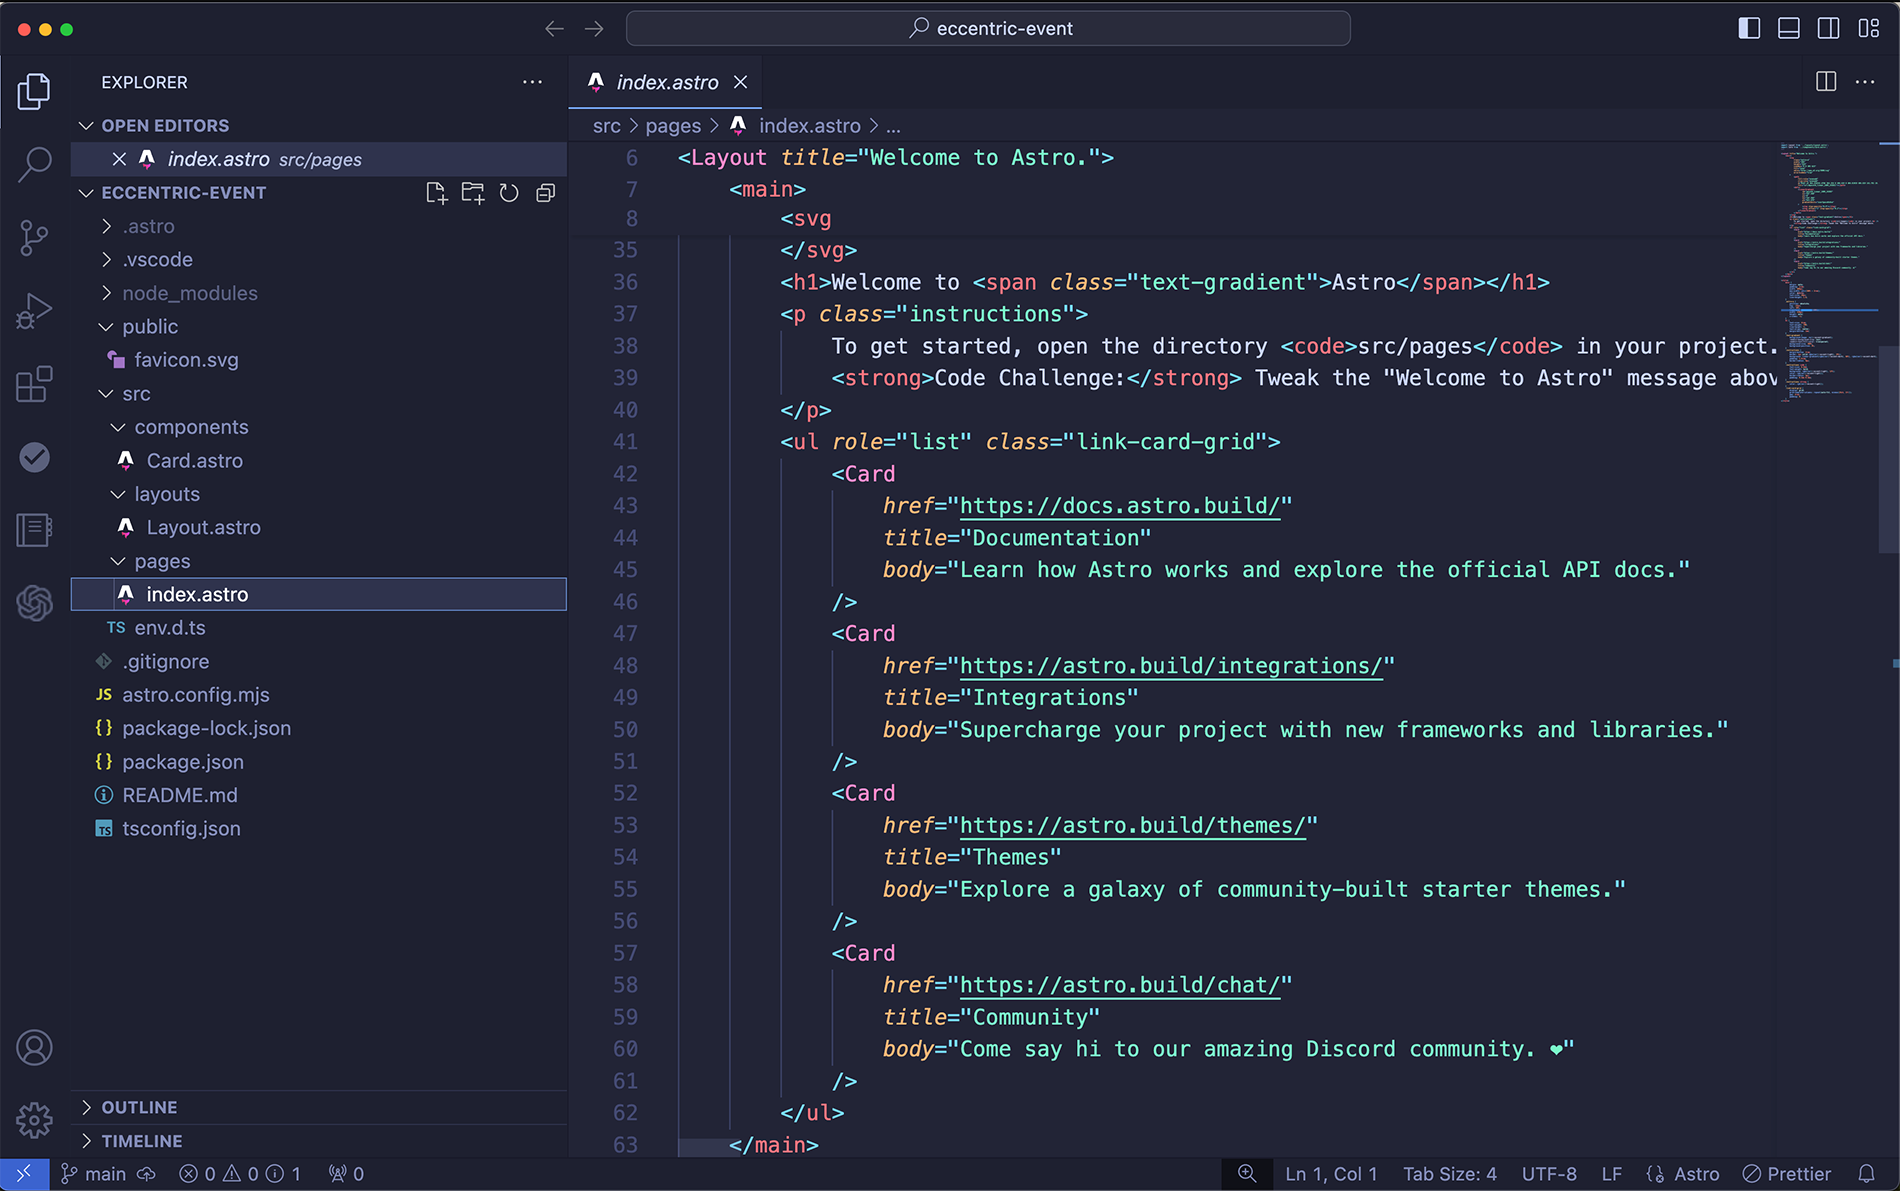
Astro’s clean file structure keeps things simple:
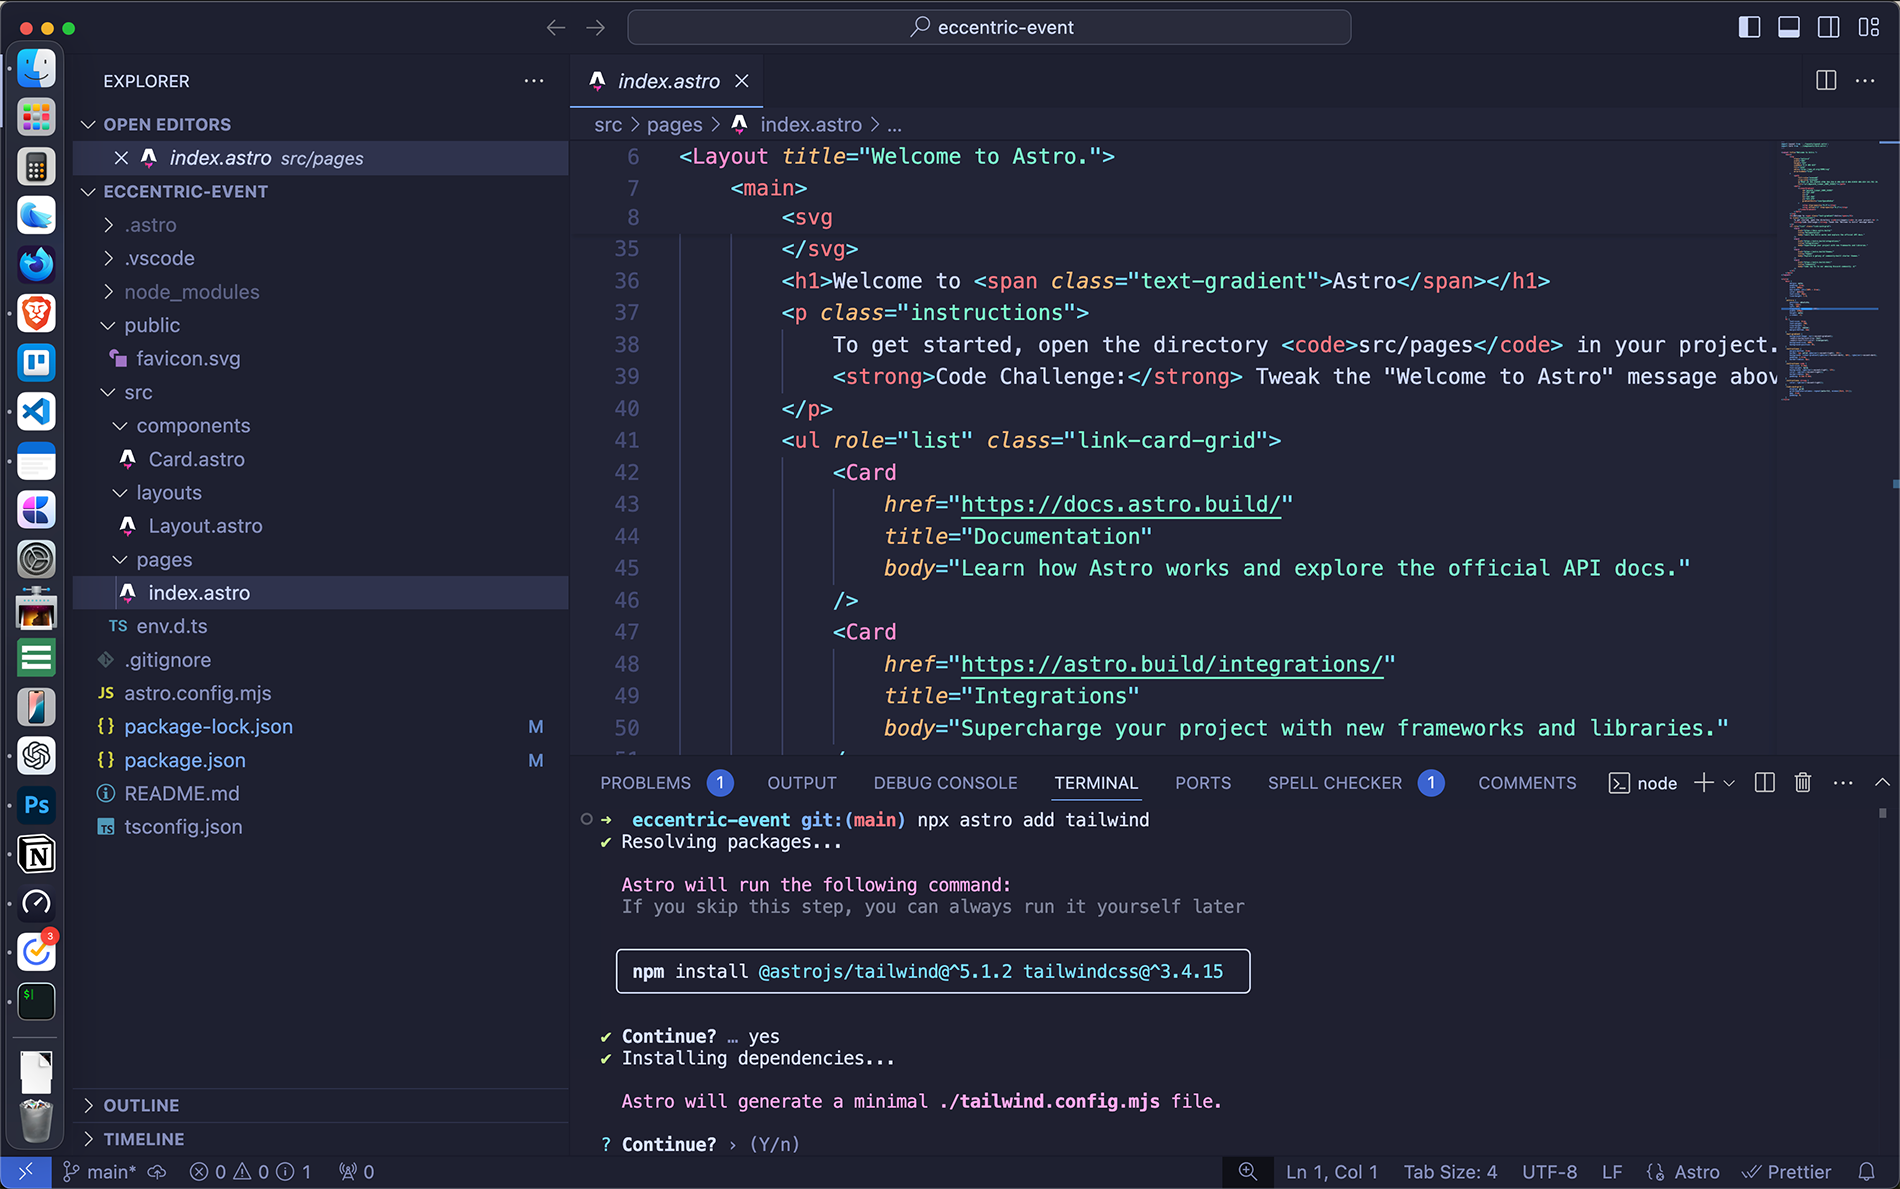
src/pages/: Create pages here. For example,src/pages/about.astrowill render at/about.src/components/: Store reusable components like headers or footers, or in this case you see Cards.astro.public/: Serve static assets, like images or fonts, from this directory.
Astro combines server-side logic and HTML within .astro files. The result? Clean, efficient code that’s easy to maintain.
Pro Tip! Integrating Tailwind CSS
Want powerful, responsive styles? This is jumping slightly ahead to my next topic, but it's a good idea to add Tailwind CSS to your Astro project with one command:
npx astro add tailwind
You will thank me later (stay tuned for the article on Tailwind styling)!
Restart your server with:
npm run dev
Tailwind’s Preflight styles reset browser defaults, giving you a clean slate for styling. Use Tailwind classes in your .astro files to rapidly create modern designs.
Deploying to Netlify
Astro’s deployment process with Netlify is seamless:
-
Initialize Git (you can skip this if you selected this option during the Astro installation above):
git init git add . git commit -m "Initial commit" -
Push to your GitHub repository:
git remote add origin `<your-repo-url>`
git push -u origin main
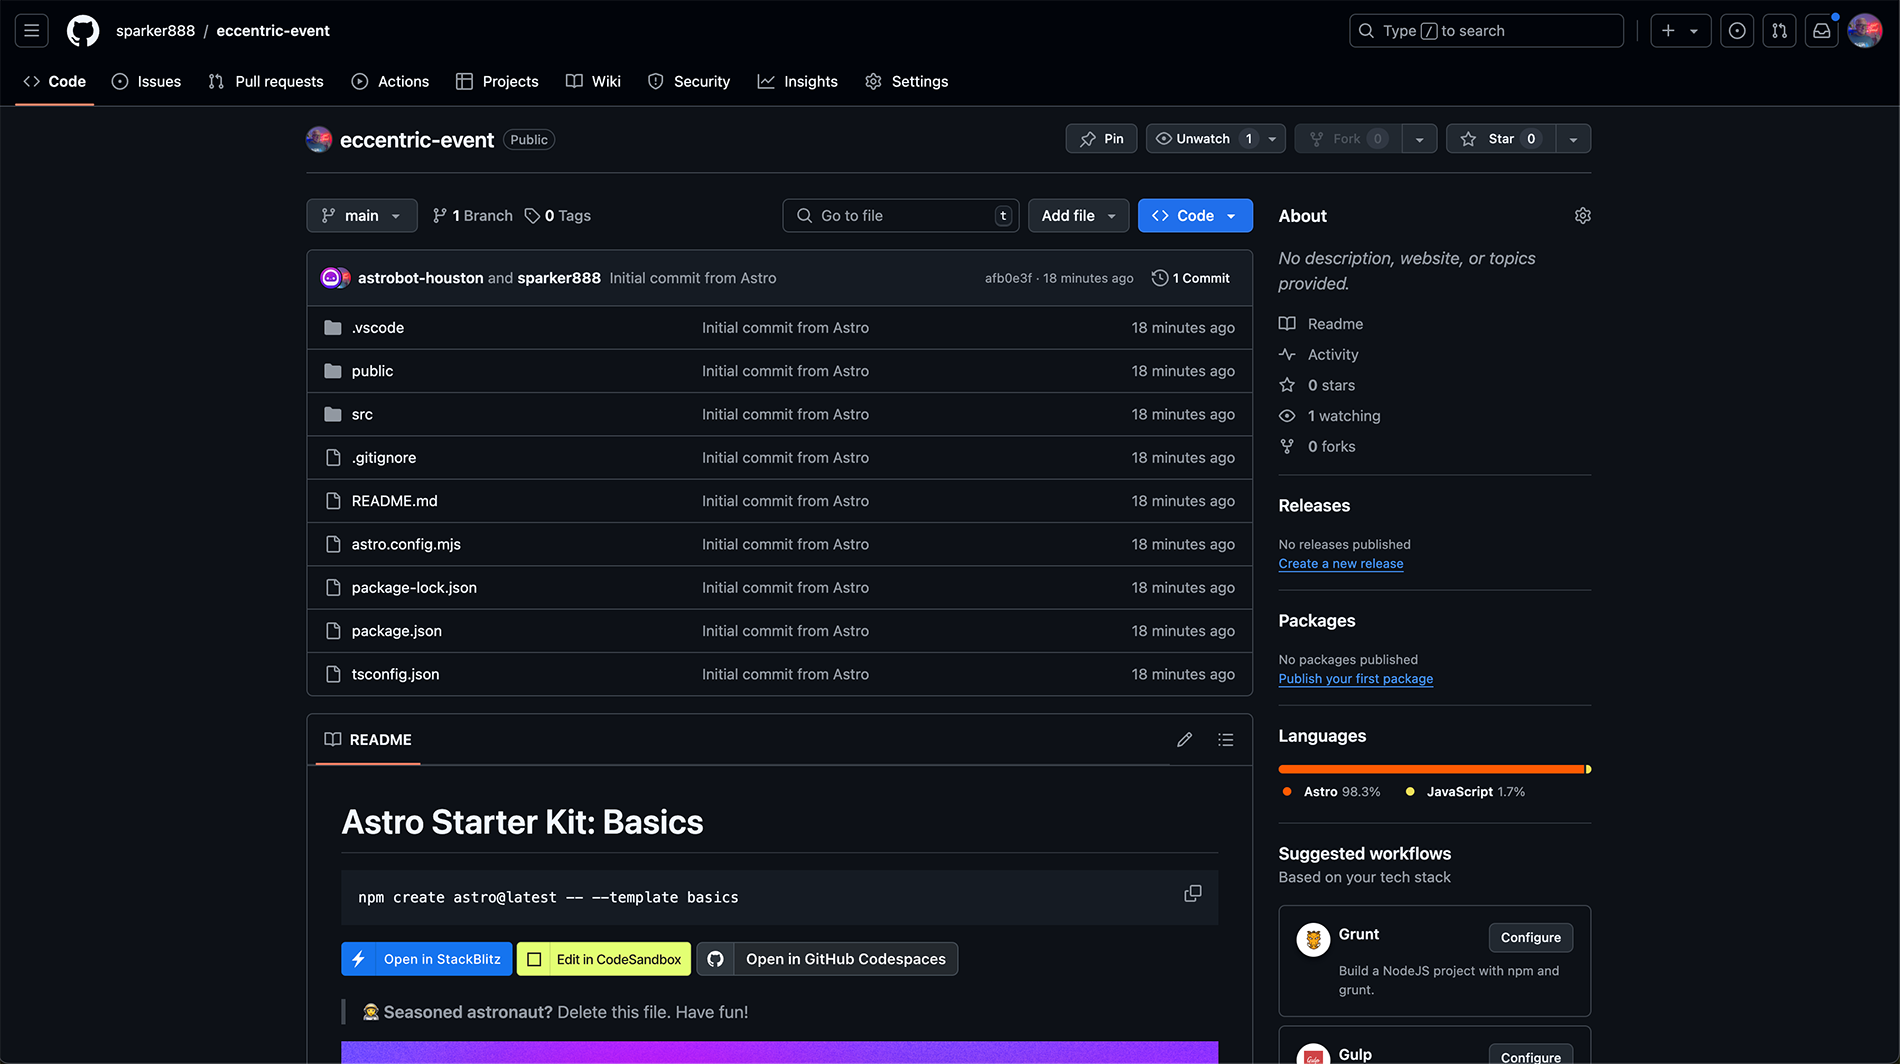
Your GitHub repository will now show up:
-
Connect to Netlify:
Log in to Netlify, and set up a free account if necessary. Select New Site and then choose your GitHub repository from the selections.
-
Set Build Settings:
- Build Command:
npm run build - Publish Directory:
dist

- Build Command:
-
Deploy:
Click Deploy Site, and your site will be live!
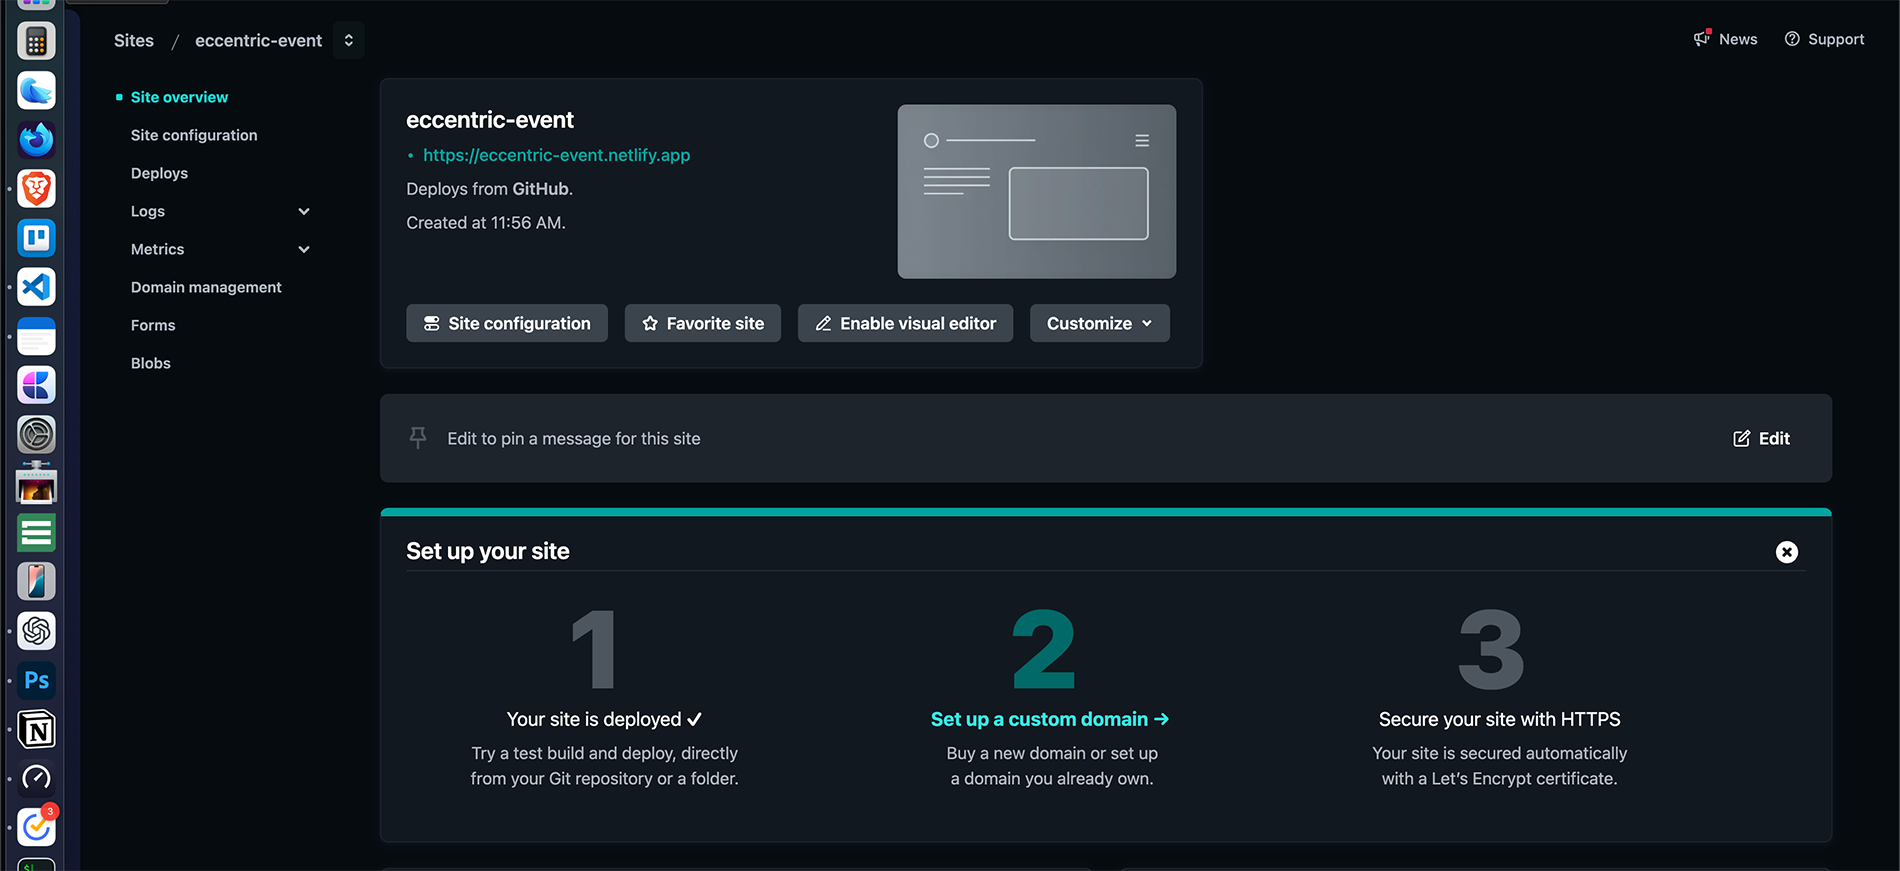
Netlify provides a site dashboard for all projects where you can easily configure different settings for your project. I recommend using their branch deployment feature which supports branch-specific deployments, making it easy to manage staging environments.
Development Workflow
Astro’s true power shines in its daily workflow. Here’s how I manage projects:
Create a Development Branch
For new features or fixes, start a new branch:
git checkout -b feature/your-feature-name
Work Locally
Preview changes live with the development server (npm run dev). Test and refine before pushing your code.
Push to your named Development Branch
Once satisfied, push to the remote development branch:
git push origin feature/your-feature-name
Netlify can automatically deploy this branch to a staging environment (e.g., dev-your-site.netlify.app). See the Netlify docs for more on Branch Deploys.
Share the staging site with clients for feedback!
Merge to Production
After making your changes and getting client approval, merge your branch into main:
git checkout main
git merge feature/your-feature-name
git push origin main
Netlify automatically updates your production site—no manual intervention required. Voila!
This workflow emphasizes simplicity: work locally, review on staging (a branch deploy using Netlify), and merge your changes to deploy to production—promoting speed in your development process.
Summary
Astro and Netlify together create an unparalleled developer experience. Whether you’re just starting or managing daily iterations, their tools simplify every aspect of modern web development.
What’s Next in the Light. Speed.✨ Series?
Next, we’ll explore Tailwind CSS with Astro and show how to create stunning, responsive designs without compromising performance.
About the Light. Speed.✨ Series: This series documents real-world experiences building fast websites and applications with AI. Each article shares practical insights, tools & techniques, and lessons learned from shipping actual products that serve real users.
Connect with me: Follow my journey on LinkedIn and X, or reach out through my contact form to discuss your own AI-assisted development projects.